# 06. vuepress 댓글 적용하기 | DISQUS
🤗 드디어 댓글 적용하기 ! 이것만 하면 거~의 완벽하게 vuepress 블로그 만들기 끄읕
# Disqus 가입
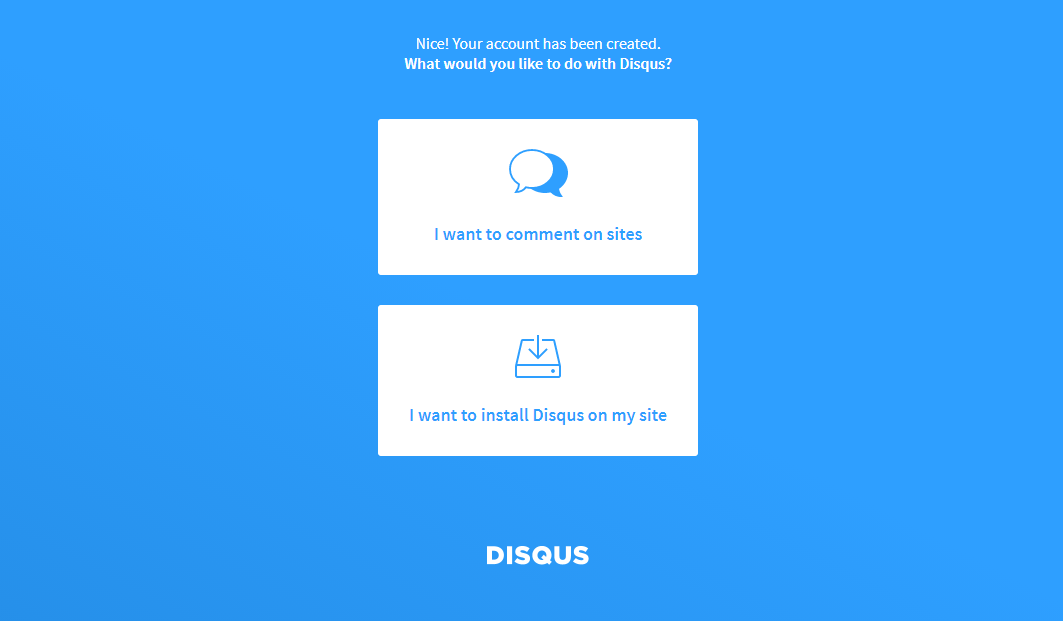
📌 먼저, Disqus (opens new window) 사이트에 들어가 가입을 하고, 내 블로그 url을 등록해주자.
아래 I want to install Disqus on my site 를 클릭해준다!
혹시 아래 화면을 못찾겠다면 메인에 Get Started 를 눌러주면 된다.
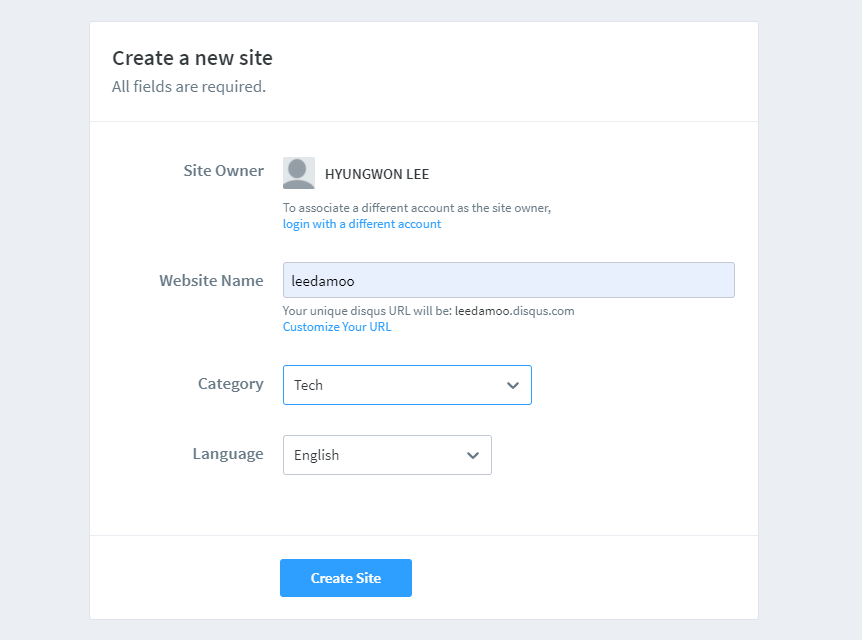
📌 그리고 아래와 같이 구분할 수 있는 Website Name 을 입력해주자!
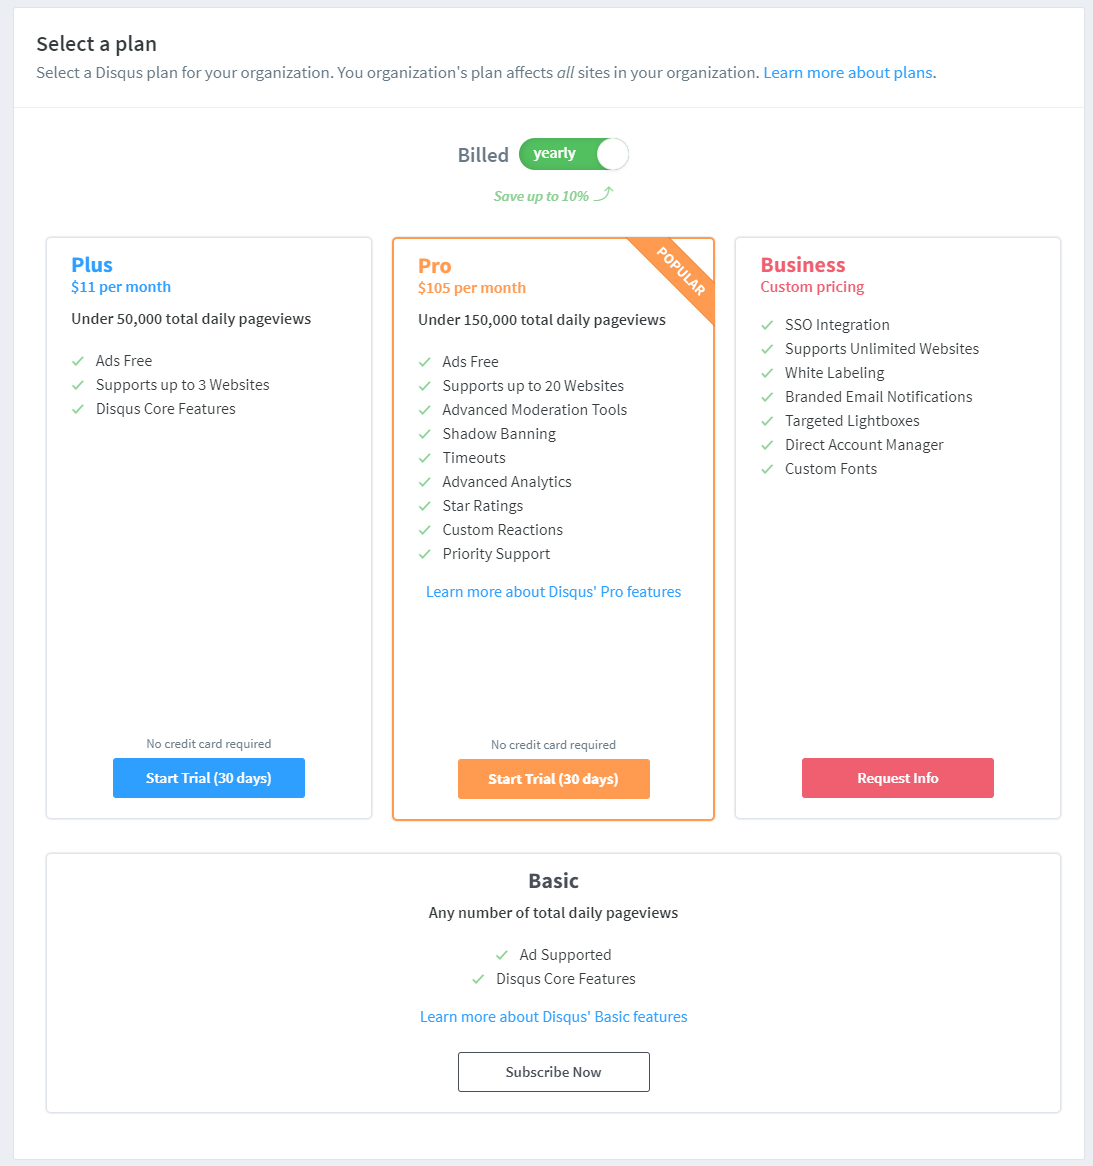
📌 그 다음, 아래 Basic 을 클릭 !
📌 이때, 각자 맞는 플랫폼을 클릭해주면 되는데 나는 없어서 맨 아래 I dont see.. 를 클릭했다.
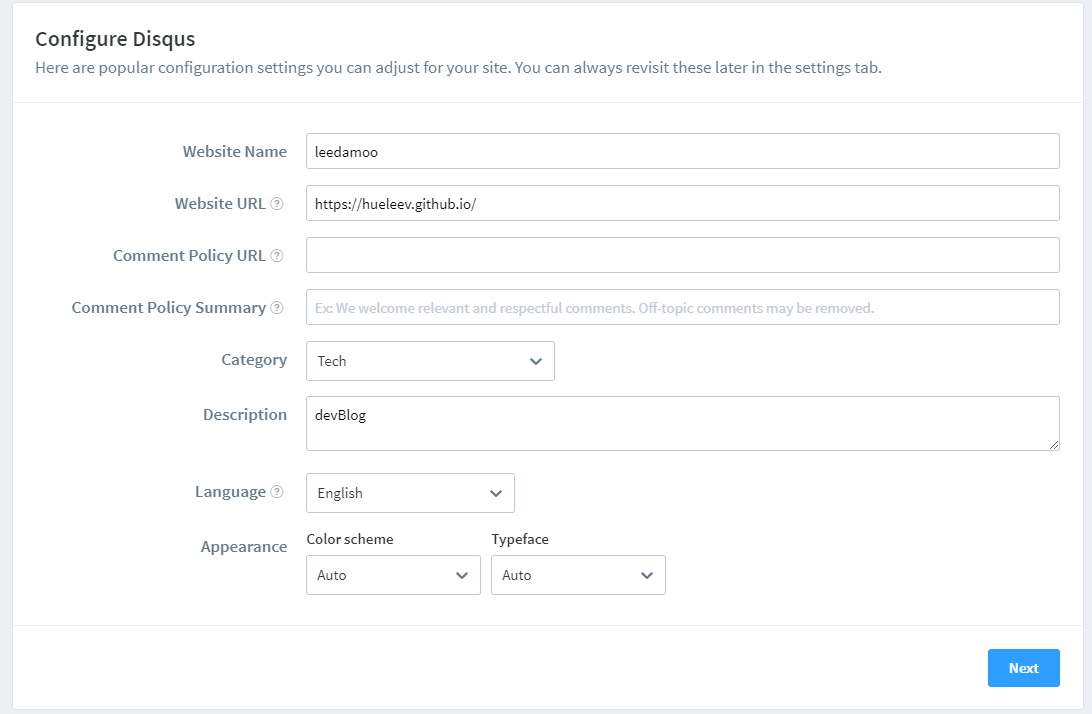
그리고 다음 화면에서 맨 아래 Configure를 클릭해주자.


📌 아래와 같이 url을 입력해주자.
# Component 생성
📌 docs/.vuepress/components 하단에 disqus.vue 파일을 아래와 같이 생성해준다.
<template>
  <div id="disqus_thread"></div>
</template>
<script>
export default {
    mounted() {
        var disqus_config = function () {
            this.page.url = window.location.origin;
            this.page.identifier = window.location.pathname;
        };
        (function() {
            var d = window.document, s = d.createElement('script');
            s.src = 'https://[웹사이트명].disqus.com/embed.js';
            s.setAttribute('data-timestamp', +new Date());
            (d.head || d.body).appendChild(s);
        })();
    }
}
</script>
📌 댓글 기능을 넣고 싶은 게시글 아래에 컴포넌트를 추가해준다.
// board.md
<Disqus />
# 모든 게시글에 댓글기능 쉽게 적용하기
📌 하지만 언제 모든 게시글에 컴포넌트를 추가해주나.. 자동으로 등록되게 해보자.
먼저, @vuepress/theme-default를 설치한다.
npm install -D @vuepress/theme-default
📌 다음, .vuepress/theme/index.js 아래와 같이 추가해준다.
// .vuepress/theme/index.ks
module.exports = {
  extend: "@vuepress/theme-default"
};
혹은
plugins: [
      '@vuepress/theme-default',
]
📌 그리고 마지막으로 .vuepress/theme/Layout.vue 를 추가해거나....
<!-- .vuepress/theme/Layout.vue -->
<template>
  <ParentLayout>
    <Disqus slot="page-bottom" class="content" />
  </ParentLayout>
</template>

<style scoped>
.content {
    width: 750px;
    margin: 0 auto;
}
</style>

<script>
import ParentLayout from "@parent-theme/layouts/Layout.vue";
import Disqus from "../components/Disqus";

export default {
    components: {
        ParentLayout,
        Disqus
    }
};
</script>
📌 나는 기존에 eject 해온 theme 가 존재해서... .vuepress/theme/layouts/Layout.vue 에 Disqus를 추가해주었다.
// .vuepress/theme/layouts/Layout.vue
<Page
  v-else
  :sidebar-items="sidebarItems"
>
  <template #top>
    <slot name="page-top" />
  </template>
  <template #bottom>
    <slot name="page-bottom" />
	<Disqus class="content" />
  </template>
</Page>

<script>
import Disqus from '../components/Disqus' // 경로 확인을 꼭 하자 ! 난 Disqus 컴포넌트를 .vuepress/theme 하단으로 이동해주었다.

export default {
  components: {
    ...
    Disqus
  }
}
</script>

<style scoped>
.content {
width: 750px;
margin: 0 auto;
}
</style>
📌 또한 SPA 기반 블로그이므로 다른 페이지로 가도 Disqus 컴포넌트가 바뀌지 않는 문제점을 해결해야 한다.
나는 다른 블로그를 참조하여 아래와 같이 router.afterEach 코드를 추가하였다.
// .vuepress/theme/layouts/Layout.vue
mounted() {
    this.$router.afterEach((to, from) => {
      if (from.path !== to.path) {
        if (typeof window !== 'undefined' && window.DISQUS) {
          setTimeout(() => {
            console.log('DISQUS is exists and try to load!')
            window.DISQUS.reset({ reload: true })
          }, 0)
        }
      }
      this.isSidebarOpen = false;
    })
}
# Reference
https://kyounghwan01.github.io/blog/Vue/vuepress/vuepress-content/#개선 (opens new window)
https://62che.com/blog/vuepress/%EB%8C%93%EA%B8%80-%EC%8B%9C%EC%8A%A4%ED%85%9C-%EC%97%B0%EB%8F%99%ED%95%98%EA%B8%B0.html#%E1%84%92%E1%85%A2%E1%84%80%E1%85%A7%E1%86%AF%E1%84%8B%E1%85%B3%E1%86%AF-%E1%84%92%E1%85%A1%E1%84%8C%E1%85%A1 (opens new window)